Important tips especially for frizzy damaged hair follow….
Ever looked at someone’s hair with jealousy and wondered – Gosh! I wish I had hair like her?
Well, worry not! I have just the tip for you.
When I was a kid, my parents would always chop off my hair in a short bob so that they don’t have to get up and tie them up in pigtails every morning. Talk about being selfish! But when I reached 7th grade. I took up charge of my own hair and by the time I was in high school my hair was long and voluminous.
In college, I experimented with my hair which involved a lot of straightening, curling and blowdrying. It left my hair damaged and lifeless, and I had to cut it short. However, my extremely damaged hair didn’t look very flattering in the short up-do either and I ended up straightening it. Yeah! Adding chemicals to my already damaged hair! Sometimes, I take bad decisions. But it did look good, for a while.
For four long years, I had no other choice but to straighten my hair otherwise it would grow out in weird angles and make me look like an untamed furry animal. But once I finished college, I took charge of my hair and made up my mind to NEVER straighten them again. EVER! My hair had been through a lot and I just didn’t want to be bald by the time I was thirty!
After 1.5 years, my hair has never felt so good. I even gave myself a break and coloured them and I take care of my locks like a baby!
(When I say ‘Straightening’, I mean permanent straightening/smoothening)

Here are the few things I did to grow my hair long and strong, without cutting or straightening them:
1. Overnight Curls
As I said, whenever my hair grew out after straightening, it was always in weird angles. If I were at home, I wouldn’t have bothered doing anything to them at all and let them get over with their awkward stage. I was, however, in the midst of starting my very first internship and I wanted to look presentable if not great! So I followed this little trick – Overnight curls!
These are basically curls you achieve without heat. And no heat means no damage!
There are several ways you can achieve heat less curls. Watch the following YouTube Video by Braidsandstyles12 for more detail:
As you can see, this gives you a great hairstyle without damage! And your hair won’t look like you had a bad flat iron accident either!
2. Deep Conditioning
The number one rule for beautiful hair is deep conditioning. But we all know how expensive most of the spa treatments and products are! I am a middle-class lass and I certainly don’t have hundred of bills to spend on my hair care treatments. So I simply follow the age old trick: Oiling!

As my hair was extremely dry and frizzy especially in the parts that were growing out, I oiled my hair before every wash (at most twice a week). I use a mixture of three oils: Coconut Oil, Almond Oil and Olive Oil. And slather them on my scalp and length till my hair is soaking wet. I follow up with a braid and sleep on it. During times when I am in a rush and need to wash my hair immediately, I just let the oil sit for at least one hour before shampooing.
3. Shampooing and Conditioning
As I mentioned before, I wash and condition my hair twice a week. I used L’Oreal Liss Ultime Shampoo and Conditioner back then. But a cheaper variant would be Dove Damage Repair Shampoo & Conditioner. I shampoo my hair in sections, making sure every inch of the scalp is dandruff free and follow up with a conditioner.
Once again, I condition my hair in sections; finger combing my hair till there are no tangles and till the hair feels extremely soft. I then tie my hair in a bun and let the conditioner sit for a minimum of 5-10 mins before rinsing it all out thoroughly.

Note: I coloured my hair last year and since then I started using Dove Color Rescue Shampoo and Conditioner. Recently, after touching up my hair, I switched to L’Oreal Vitamino Color Shampoo and L’Oreal Absolut Repair Lipidium Conditioner. It is so good and makes my hair feel so so soft. Best part – it smells great!
4. Hair Serum
This is something that I have started doing recently. After my hair is semi-dry post hair wash, I use Fructis Hair Serum for Split Ends and spread it out evenly across my entire hair length. DO NOT use it on your scalp or else you’ll get dandruff. Yikes!

I began doing this after I colored my hair. I know, some of you would be like ‘colouring damages the hair’. That is absolutely correct! However, I coloured my hair only after my hair was in better shape. Plus, I dip dye my hair so that my scalp is chemical free and yet I get the glam look that I so desire. If you take care of your hair religiously, your hair wont feel damaged no matter what you do.
5. Say NO to Hot Tools
Since I followed this routine, I have only used a curler or straightener thrice. I only blow dry it in case of emergencies; for instance when I have to rush out within an hour. I know this is very hard to follow but applying any form of heat on your hair damages it. I mean, have you seen the smoke coming out of your straightener?! *Shivers*

Best would be following the heatless curls routine if you do want the curled look. Or go for a cute braided style instead on your natural locks.
6. Trimming
Yes, trimming your hair on a regular basis is extremely important to keep your hair split-end free. However, I never like going to the salon for the trim as they take away a considerable amount of length to save their own sweet time. Pfsshhh
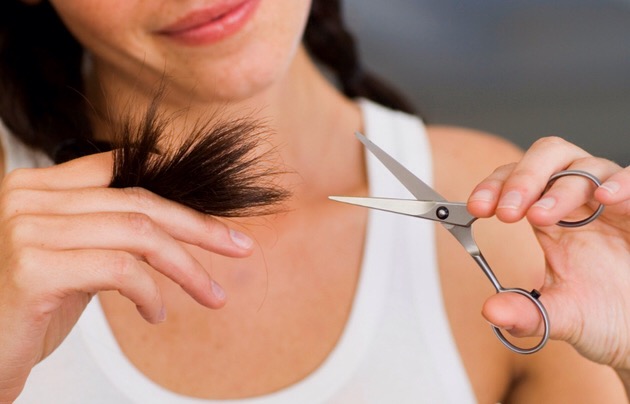
All I did, was invest in a good pair of manicure scissors and use to it trim my hair weekly. As in, snip away the spilt ends ONLY! Once a month, I cut a small section at the tip of my hair to make it more levelled. This way I don’t loose a lot of length. You don’t have to do it all at once. Just take out your scissors whenever you are free and dig in your hair to find rouge split ends.
So there you have it! Everything I did and still do to save my hair from damage.
This is the snap shot of how my looked before and how it looks now:

As you can see there is a huge difference between how my hair looked 1.5 years back and how it looks now. My hair is fuller, healthier and longer.
I hope that this post helped you in some way or the other. All I want to say that it’s never too late to start caring for your hair. This is not an extensive or expensive routine. It is something you can do on a tight budget and still give your hair the care that it deserves.
If you try these hair care tips, let me know how it worked out for you. I am open to criticisms as well! And if you have any special hair care tips or tricks that you follow, let me know in the comments and I shall try it myself!
XOXO
Arabella & Jaune